Description
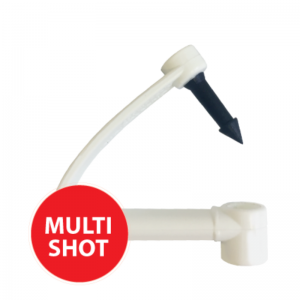
The TagFaster Applicator is easy to load and quick. Designed to tag sheep and goats from either the front or back of the ear as well as in marking cradles.
Key Features – TagFaster Applicator
- Loads strips of 20 TagFaster Tags.
- Features automatic ear release.
- Easily applies TagFaster Tags from either the front or back of the animal’s ear (both sheep and goats).
- Suitable for use in marking cradles.
- Fast and simple to load, therefore saving you time at tagging. No need to roll the tags, they slide straight into the feeding slot.
Every applicator comes with a Hand Plier tagger, just in case the tags are required to be applied individually.
Applying TagFaster Tags
- Only apply TagFaster tags with the TagFaster Applicator.
- Correct application ensures better tag retention.
- It is recommended that you dip the tag pins in antiseptic before applying the tags.
Load the Tags
- Insert tag strip with pins and tag ridge covered by feed horn.
- Push tags until they “stop” and lock in place.
Tagging
- Press down on tag to align it within the hammer.
- Squeeze applicator halfway to prime for tagging.
- Ensure the tag is positioned in the ear as close to the head as possible while avoiding the main blood vessels and ridges of cartilage. In case of young animals, allow for ear growth by leaving the tag to stick out by one quarter of its length from the ear. Apply the tag by holding the animal securely and flattening the animal’s ear.
- Fully and sharply release the handle to feed the next tag.
Troubleshooting
Unloading
- Change the tag strip (if required), pull tab and slide tags out.
- Return tab to original position.
Changing the Blade
- Use the Allen key provided to remove the 2 screws holding the tooth in place.
- Swing the tooth down to access blade. Unscrew with the Allen key provided.
- Take the new blade and screw provided.
- Slide the blade into place between the grooves into the hammer.
- Tighten the blade screw using the Allen key.
- Reposition tooth and tighten.